
Getting Good Grades
Ha ha, this post is starting with a play on words because the subject matter, color grading, is fun !
Color grading as defined by the internet is “the process of improving the appearance of an image for presentation in different environments on different devices. Various attributes of an image such as contrast, color, saturation, detail, black level, and white point may be enhanced whether for motion pictures, videos, or still images.” -Wikipedia
We were resistant to color grading for a time at Take One, because it does add time to post production. We also remembered the “olden days” of the telecine and how there was a “colorist” who came into the post production flow chart adding a great deal of expense and a room full of hardware for the result that “made those greens in the forest really pop!”.

Colorists used to have their own wing of the edit suite. Can you hear “Blue Monday ” playing ?
Then one day we realized we were color correcting nearly every shot in post anyway, whether it was adding some blacks to this or taking some highlights out of that, we found ourselves using the editing program’s color correcting tools on 90% of our footage.
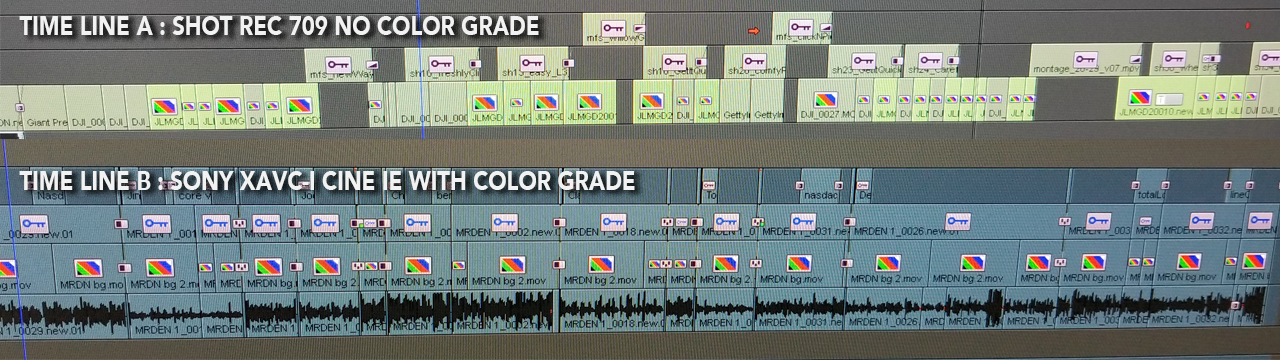
Can you tell which timeline was shot REC-709 and which was shot S-Log/S-Gamut ? Neither can we.
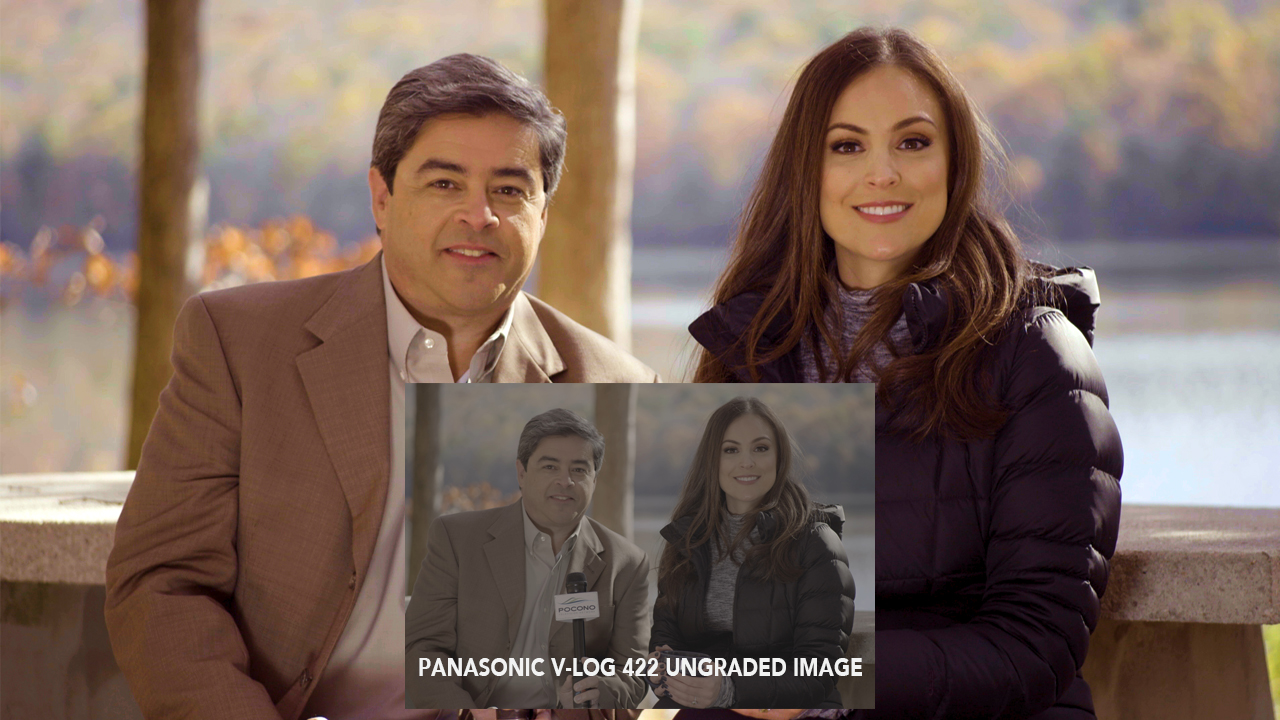
Color grading works best in our production world, when we capture properly exposed images in a RAW gamma format. At Take One Productions this means we are shooting in V-log with our Panasonic Varicam LT or Cine IE with our Sony FS/7. Those two gamma modes are the camera manufacturer’s version of RAW integrated into their respective recording codecs.
Quick recap, the human eye can see roughly 20 dynamic range stops of light, our production cameras can effectively capture 14 stops of dynamic range. The HDTV rec 709 standard (the end product display) “sees” between 6 to 10 stops (depending on the quality of the display). During each step on its way to the end viewer the amount of dynamic range decreases. Proper exposure of the image and then the subsequent color grade of the image allows the colorist/editor to present a more “true to life” image or an stylized image based upon where the exposure defines the limits of the gamma curve.
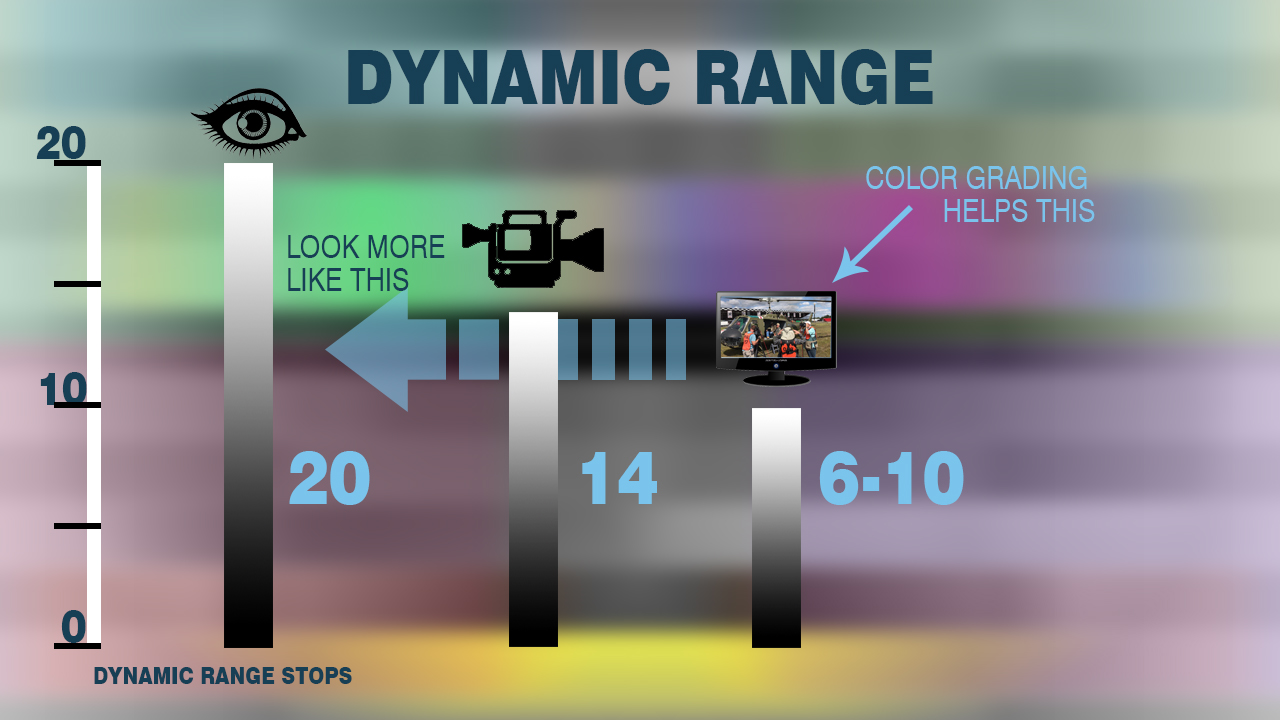
That’s a lot of nerd speak to say shooting a RAW equivalent gamma curve brings a more true to life image to the viewer because there is more color information available to be manipulated. More detail in the dark areas of a dark image or more clouds in a white sky, things seen in nature now can be seen compressed down to 50mbs and 72dpi on the internet.
We figured why not make use of the RAW gamma curve available to us and then control the whole set of images with a higher level of consistency? We consulted with some of our friends in the business and spent some time training ourselves with the trusty internet tutorials available through our software vendors and today we feel we are able to grade our images with a high degree of efficiency and skill.
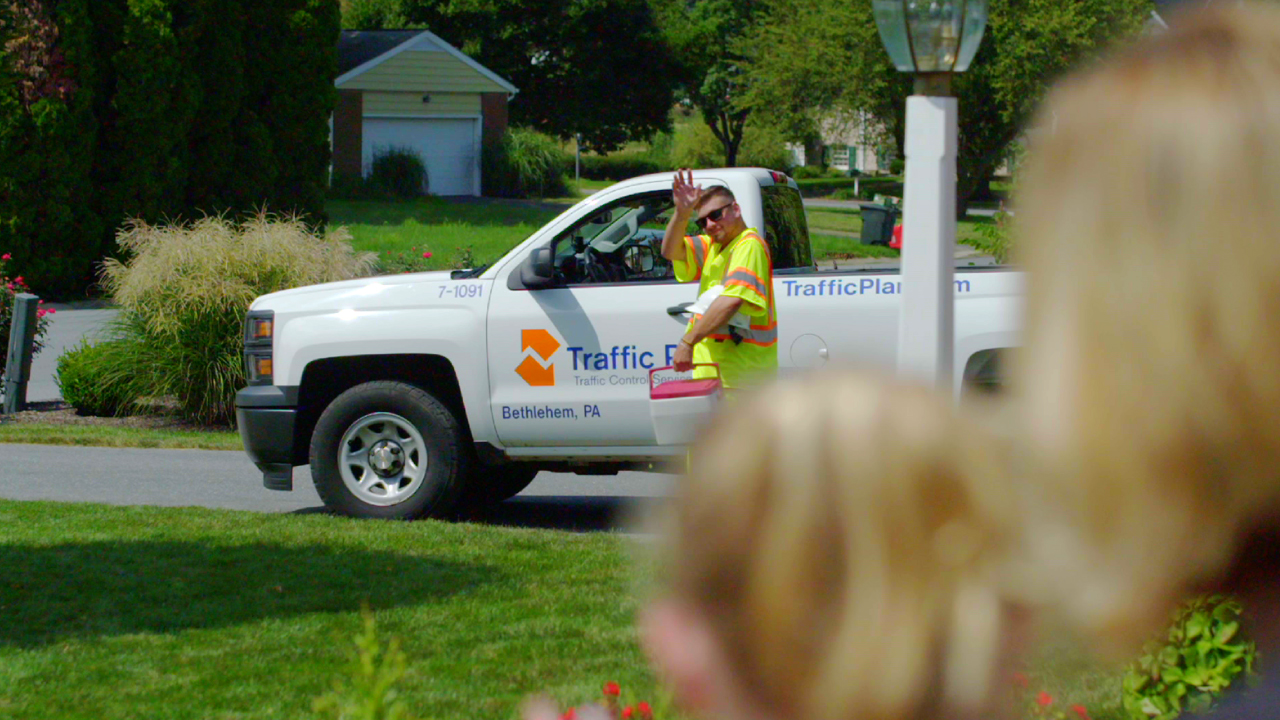
The color grade experience starts with a properly exposed image, our production bags now have multiple gray-scale cards and we leave in our wake some confused talent wondering why they had to show the palm of their hand to the camera for so long. We get the footage on the time line and then the fun starts, do we want to make this show dark and moody ? bright with blooming whites ? do we want the greens in the forest to really pop ? all those choices are on the table now bringing great value to our client’s production spend.
Photo and art credits:
Vecteezy
Clipart.email
Freepic